Everything You Need To Know About Installing a New Garage Door Opener
- Jan 30, 2023
- Safety & Security
- 8 minute read

Did you know that the average homeowner opens and closes their garage door three to five times per day? That's roughly 15,000 cycles per year. Those numbers mean that no matter how well you strive to perform regular maintenance checks on your garage door system, repetitive use eventually leads to wear and tear.
This guide will cover what to look for when your garage door opener is no longer functioning properly, and provide tips to help you find and install your ideal replacement.
It's sometimes hard to tell if you need to repair or replace your garage door opener. Sometimes the signal may just be off, but other times it's a much more technical problem. If your garage door opener isn't working properly — you notice a greater-than-usual degree of shaking, or delayed closing, for example — you may be due for a replacement. And, while there are certainly no shortage of DIY videos available on YouTube, the reality is that replacing or installing a new garage door opener is a task that requires a degree of precision and skill.
To maintain your new opening system's warranty — and to avoid potentially installing it improperly or even injuring yourself — it's always a good idea to leave installation to a licensed Amarr professional.
In addition to the unexpected rattle or vibrations that indicate improper function, here are some other signs that your garage door opener may be due for replacement:
- You begin closing or opening your door, and it suddenly reserves direction.
- You still have an older, chain-driven garage door opener.
- Opening or closing takes too long time.
Some homeowners aren't even aware that their garage door opener has a lower horsepower than what's ideal for their garage door's size. For example, if your door is 20' wide, your garage door opener should have at least ½ horsepower to operate with peak efficiency.
The horsepower of your opener will determine how quickly your door opens and closes. In most cases, an overpowered unit is a better fit for your garage than an underpowered one.
One way to determine your existing unit's effectiveness is to time how long it takes to open or close. On average, a garage door should lift between 6-8 inches per second. If your unit is slower than this, look for a motor unit that offers a little more horsepower.
Some homeowners aren't aware that the horsepower of their garage door opener can affect its efficiency.
Why Replacing Your Garage Door Opener Is a Good Idea
Newer models have many technology and safety advancements that may appeal to you when considering a replacement.
Some of today's smart garage door openers come loaded with features such as:
- Enhanced security. New models operate on unique codes, whereas some older units used the same, or similar entry codes that thieves could potentially access.
- Better noise reduction. If your current garage door system squeaks or squeals when opening or closing, you may be pleasantly surprised by newer models' silence.
- Smartphone integration. Enjoy the ability to open and close (as well as monitor changes to your garage door's status) directly from your mobile device. These enhancements bring a new level of monitoring and connectivity to your home's largest entry point.
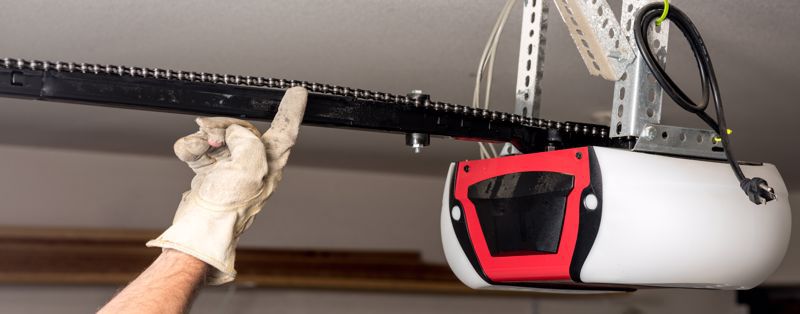
- Belt vs chain technology. Many new garage door openers feature a belt system that's both quieter and more efficient than older, chain-driven models. While chain drives are more common and cost-efficient, a belt garage door opener has the speed advantage. A standard chain drive costs between $50-$150. A belt drive will cost around $300, and could potentially climb as high as $1,000 for top-of-the-line models.

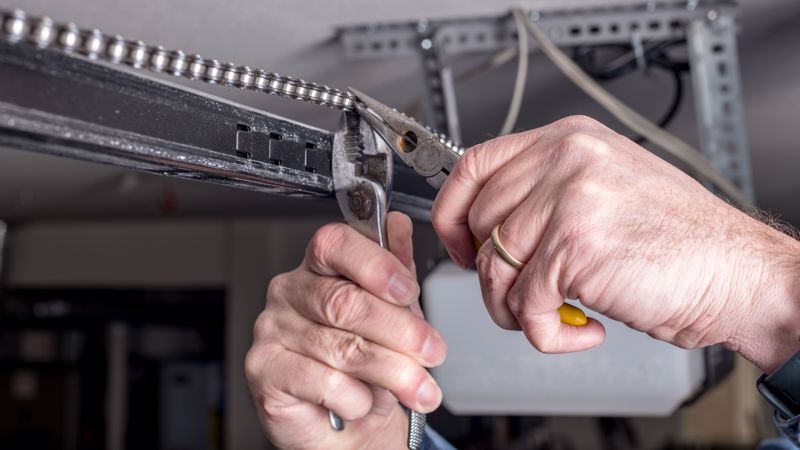
Older chain drive garage door openers may begin to function improperly over time.
A Word of Caution Regarding DIY Installation
Installing an automatic garage door opener could prove more technical and complicated than most DIYers might think.
A garage opener requires a privacy notice, removing the existing opener and possibly connecting it to your smart home (if applicable). Modern garage door openers operate very differently than old opener models, and are not as straightforward or simple to install on your own.
The 7 Steps Your Installation Professional Will Take When Replacing Your Garage Door Opener
If you're attempting to install a garage door opener on your own — or if you're simply interested in reading about how this process is accomplished — you'll first need to identify the right tools for the job.
Here are the commonly used tools an installation professional will typically use:
- Drill and screwdriver set
- Lag screws
- Mallet
- Wrench
- 8-foot ladder
- Pieces of angle iron
- Stud finder
- Tape measure
Step 1: Preparation
Your installation technician will take a look at your door's existing operation. On one hand, to validate and verify your need for replacement (in the event that breakdown has led you to purchase a new unit) or to observe the environment in which the new unit will operate.
If you'd like to help out, you can ensure that the inside of your garage and the garage door is clean and appropriately emptied to give your technician room to operate.
Step 2: Assembly
Once it's time to begin, your installation expert will lay out your new opener's various components, and begin assembling them as per the instructions provided.
Step 3: Attach the Rails
You may be surprised to learn that your new opener is packaged with more than just the motor unit. Your installation professional will assemble the rails that come with the opener itself, although these will vary depending on your chosen model. Some of the latest units have rails with a tapered end on one side, and a broader end on the opposite side.
The rails are attached by inserting the smaller, tapered edge of each rail into the broader end, although your opener's process may be different depending on the installation guide your technician refers to.
Step 4: Insert the Carriage and Header Bracket
Now that your rails are intact, the technician will place a section on top, sliding the trolley along the other section of your rails. Once the assembly is in place, they'll secure the trolley using a fastener so that it won't slide off of the rails.
Step 5: Install the Belt or Chain and Pulley
There's often a groove on the other end of the carriage tube, away from the opener itself. Once your technician identifies the groove's location, they'll pass the belt or chain through it, and then install your pulley.
This is one area where the experience of your installation expert really matters. They'll know how tightly to secure the pulley, as too much tension can negatively affect the mobility of the door. There's nuance to this aspect of assembly.
Step 6: Mount the Opener to the Ceiling
Now that your technician has attached the opener to one end of the carriage tube, they'll attach the other end to the header bracket. This will be joined at the center above the garage door itself.
This is where the ladder comes into play, as your technician will often support the weight of the opener while they prepare to install it to the ceiling. (You'll notice they often leave the garage door open at this point, to provide additional support to the rails.)
Once they've aligned the joists to mount the opening, your installation will almost be complete!
Step 7: Install the Accessories
The final step involves installing the emergency release cord, LED bulbs, safety sensors and, of course, your wall-mounted console. While these elements may seem to be relatively easy to install, the reality is that each of them plays an important role in enhancing your garage's safety, so you should leave these elements to your technician.

It's always a good idea to leave the installation to professionals.
Trust an Amarr Dealer to Source All Your Garage Door Needs
If you're looking for a long-term garage door company that can provide you with the goods and support necessary to maintain your door's longevity, you can find a dealer close by. You'll find the attention you need, answers to your questions and a team that can arrive quickly when you've noticed mechanical issues.
For over 70 years, Amarr has been engineering and manufacturing garage doors so dealers can help homeowners replace and repair their garage doors when needed. Amarr garage doors are installed and serviced by over 4,000 independent professional garage door dealers in North America, which means we've got an expert near you.
When you're ready to install a new garage door opener, a local Amarr dealer can help you take advantage of the latest technology today's units have to offer.

